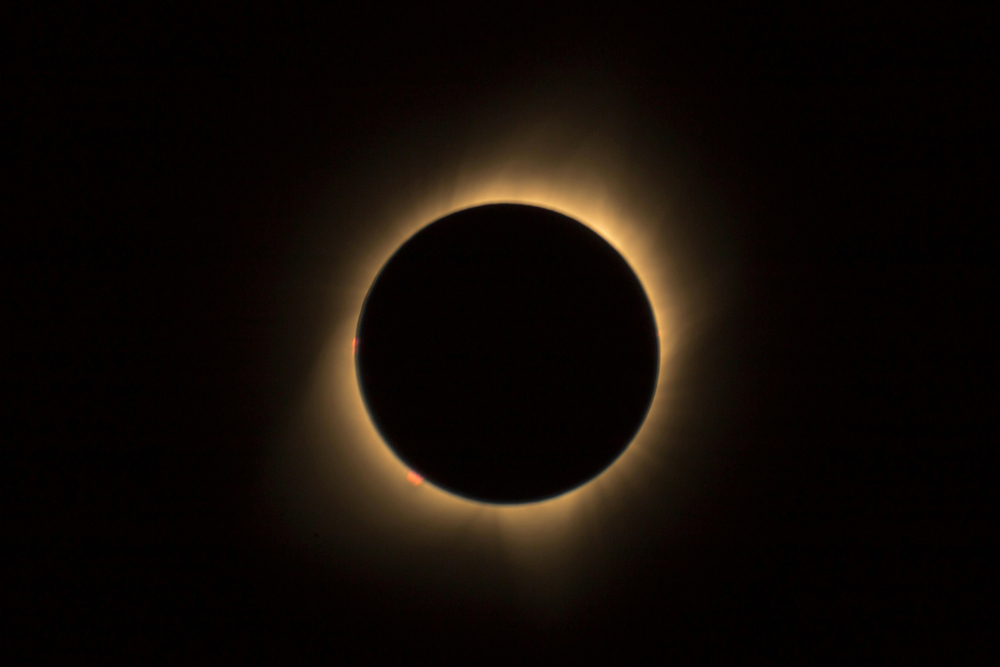


Have you ever dreamed of witnessing a solar eclipse but worried about the cost of those fancy eclipse glasses? Or perhaps you're a DIY enthusiast itching to create something unique while still ensuring your eye safety during this celestial event? Well, you're in luck! Making your own eclipse glasses is not only a fun and rewarding project but also a practical way to get up - close and personal with the wonders of the universe. Let's roll up our sleeves and get started!
Materials You'll Need
Solar - filter material: This is the star of the show. You can find aluminized Mylar film, which is super thin and shiny. It's like a magic shield that blocks out over 99.99% of the sun's harmful rays, including UV, IR, and intense visible light. You can order it online or check at some specialty craft stores. Another option is black polymer filters, which are also great at keeping your eyes safe.

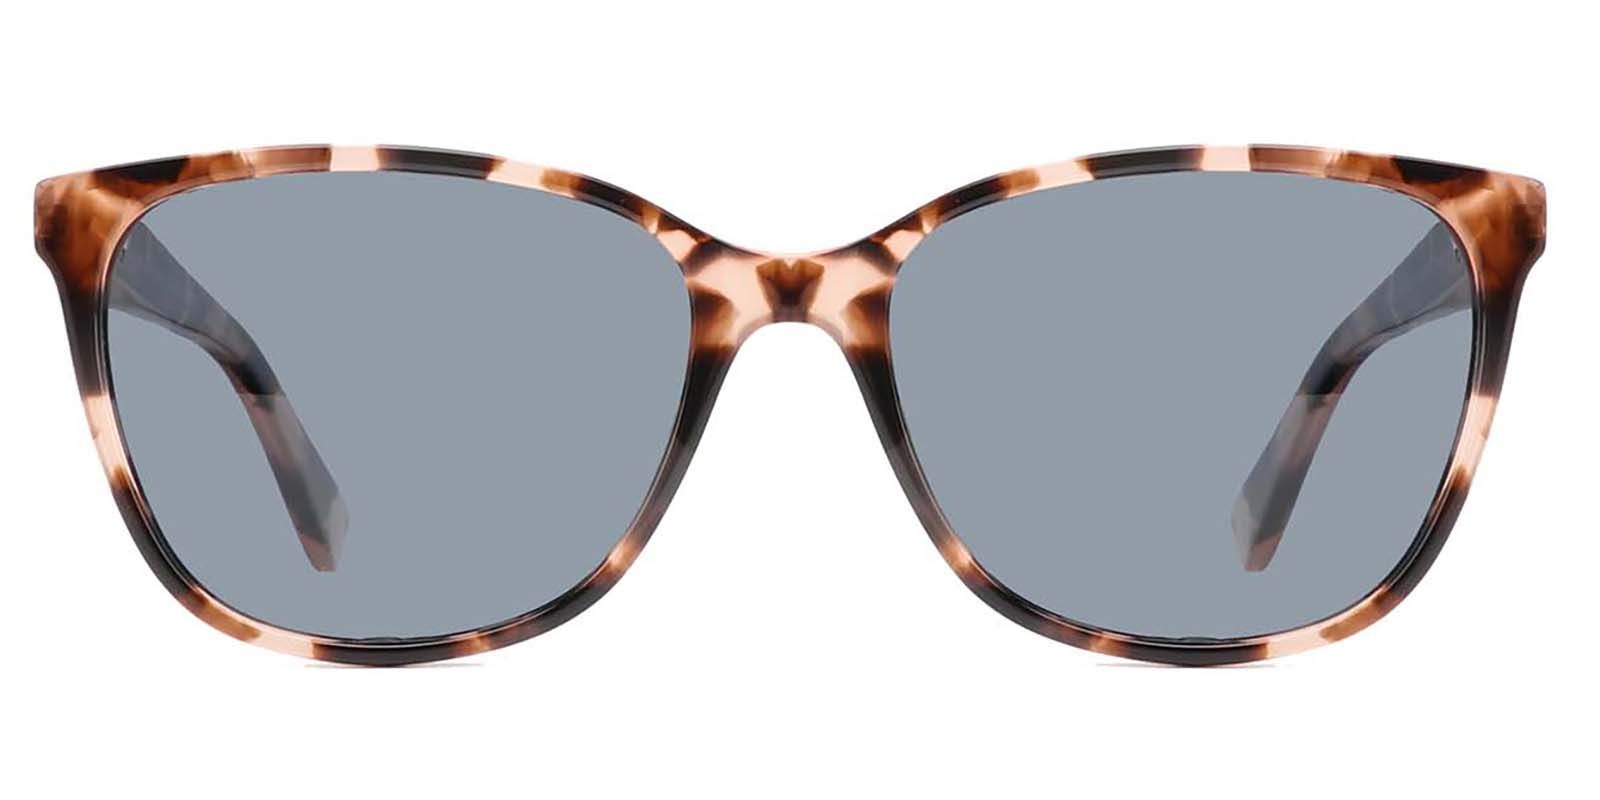
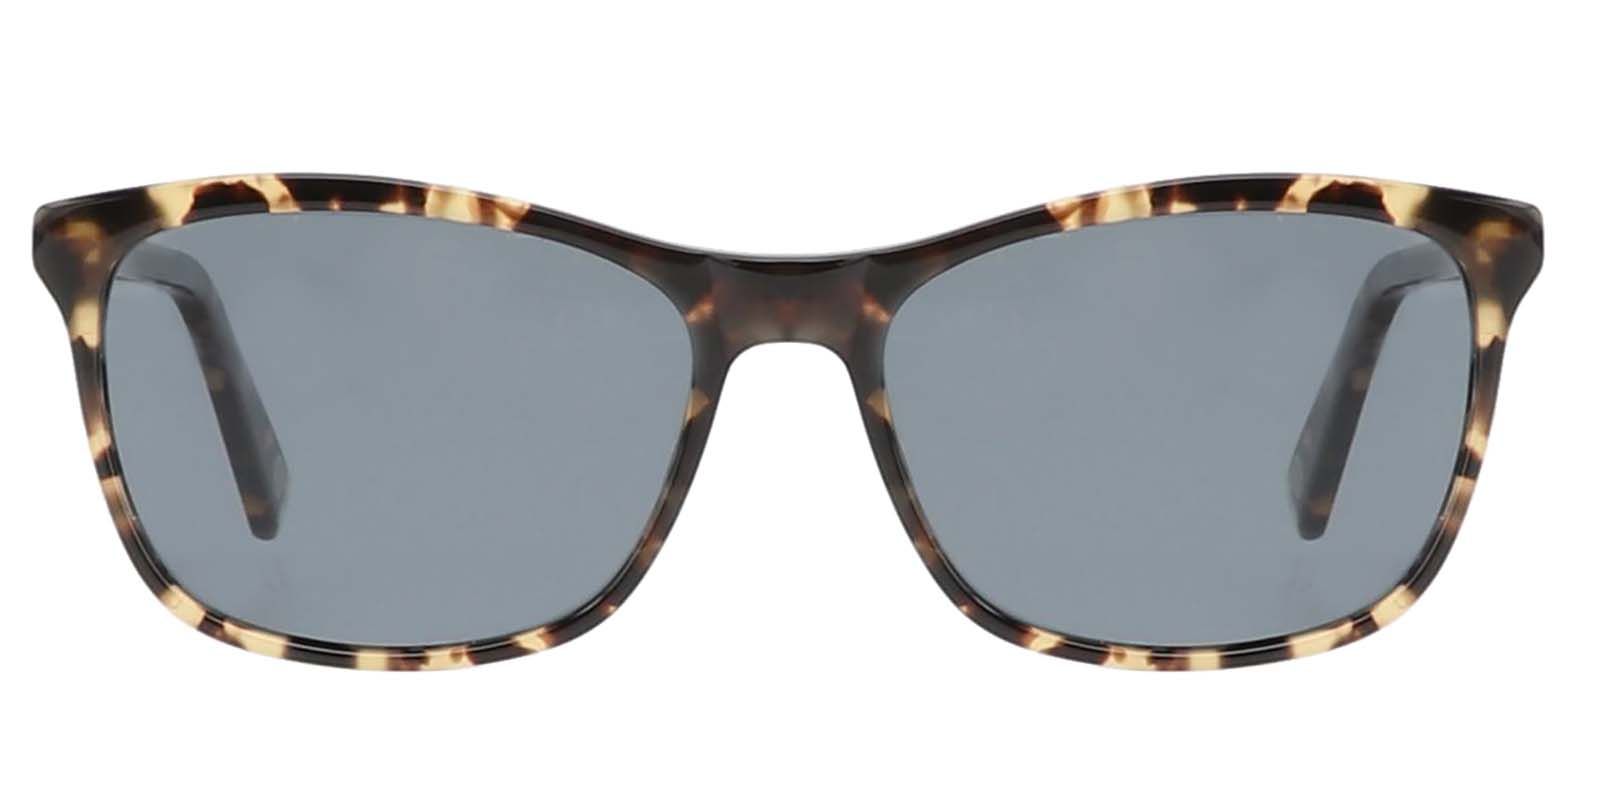
Frames: Think outside the box! You can use an old pair of sunglasses frames that you no longer wear. Just pop out the existing lenses. If you don't have any old frames, a simple cardboard frame can be made in a jiffy. Cardboard is easy to cut and shape, and it's a great DIY - friendly material. You can also pick up some inexpensive plastic frames from a craft store.
Scissors: A sharp pair of scissors is essential for cutting both the filter material and the frames to the perfect size. Make sure they're clean and sharp for a smooth cut.

Tape or glue: Clear tape is quick and easy to use. Just a few strips will do the job of attaching the filter material to the frames. If you prefer a more permanent solution, a non - toxic, clear - drying glue is a great alternative. It'll give you a strong bond that won't come apart easily.
Step - by - Step Instructions
Frame Preparation
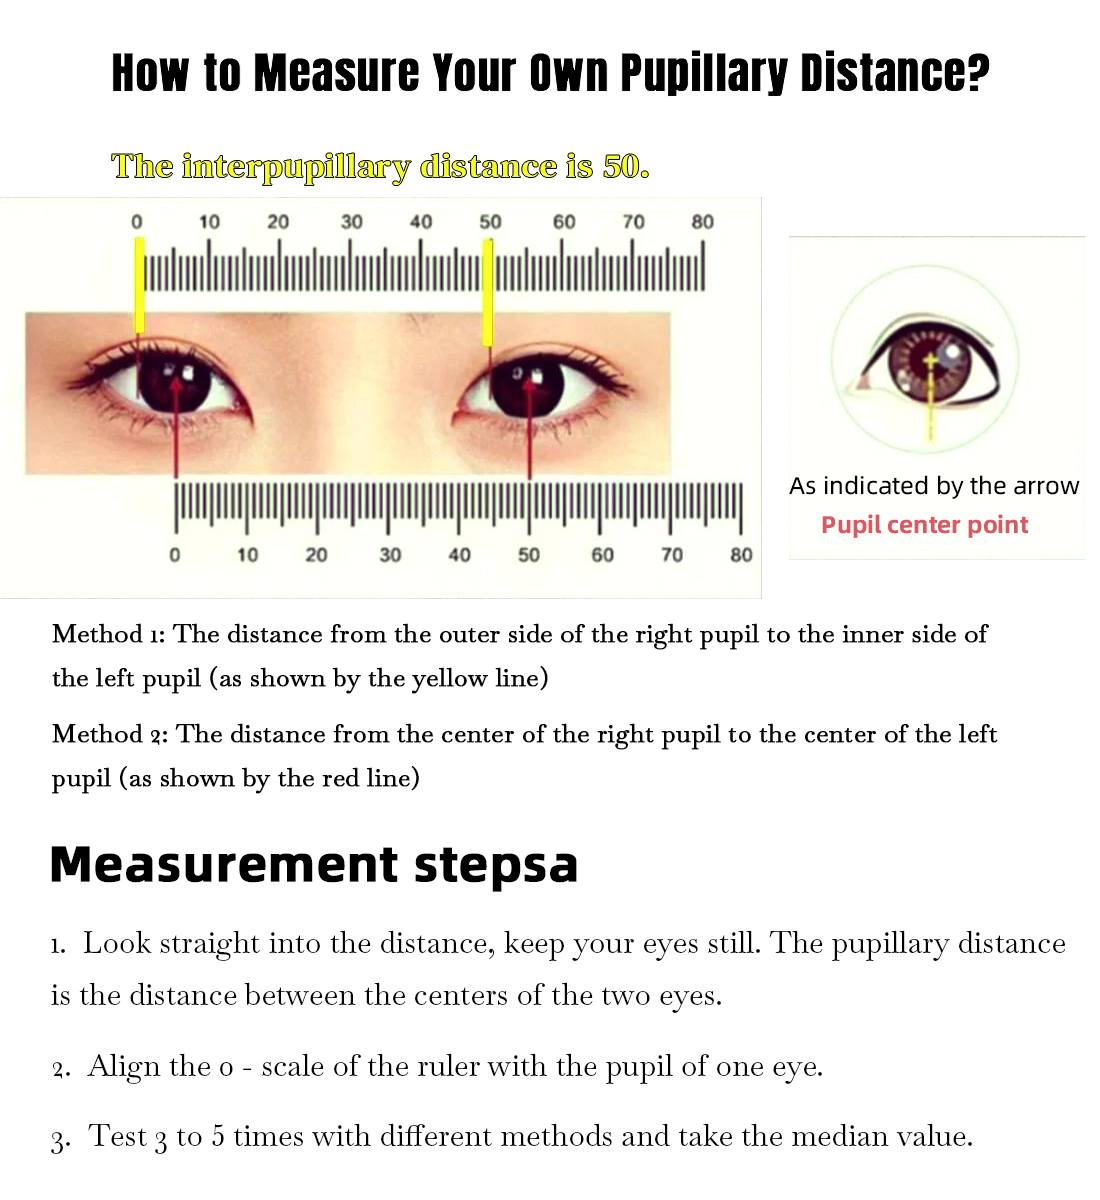
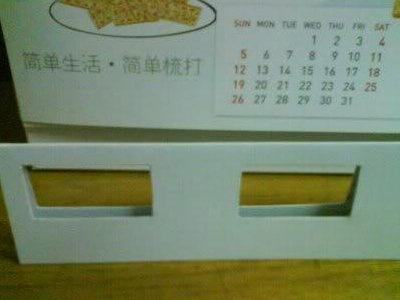
If you're using cardboard, measure the size of your face around the eyes. Cut two oval - shaped pieces for the lenses and a strip to connect them, forming a simple frame. Make sure it fits comfortably on your nose and ears.
For old sunglasses frames, use a small screwdriver or a thin - bladed tool to gently remove the existing lenses. Be careful not to damage the frames.

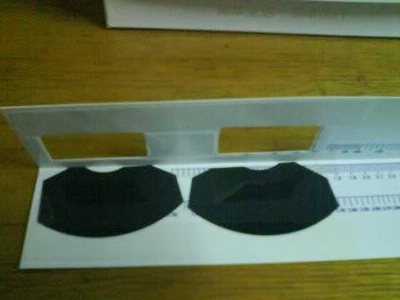
Cutting the Filter Material
Place the frame on the solar - filter material. Trace around the lens area, leaving about 1 - 2 centimeters extra around the edges.
Using your scissors, carefully cut along the traced lines. Precision is key here, so take your time. A clean, even cut will ensure a proper fit.
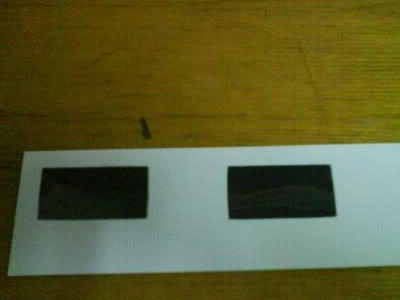
Attachment Time
If you're using tape, place small strips of clear tape around the inner edge of the frame. Then, carefully place the cut filter material onto the tape, pressing it down firmly. Smooth out any wrinkles or bubbles as you go.
If you choose glue, apply a thin, even layer of glue around the lens area of the frame. Place the filter material on top and hold it in place for a few seconds until the glue starts to set. Let it dry completely according to the glue's instructions.
Inspection and Final Touches
Hold the glasses up to a bright light source. Check for any gaps between the filter material and the frames. If you spot any, use a small piece of tape or a bit more glue to seal them.
Try on the glasses. Make sure they fit well and don't feel too tight or too loose. Adjust the frames if necessary.
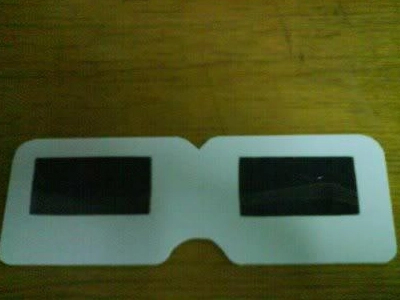
Now, you can enjoy the next solar eclipse with your DIY eclipse glasses! Remember, this DIY project is not only about saving money but also about safely experiencing the beauty of the cosmos.
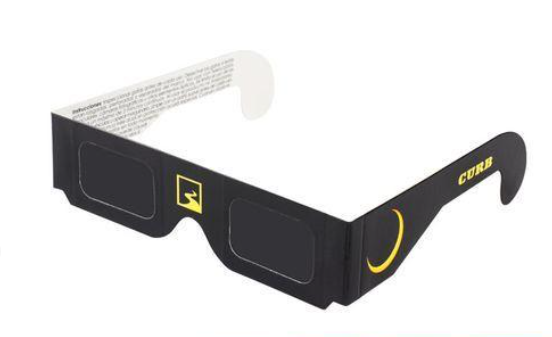
Of course, we also have many solar glasses for viewing a total solar eclipse in our EYECEDAR store. Come and try them out, and get ready to be amazed by the spectacular sight of the eclipse!